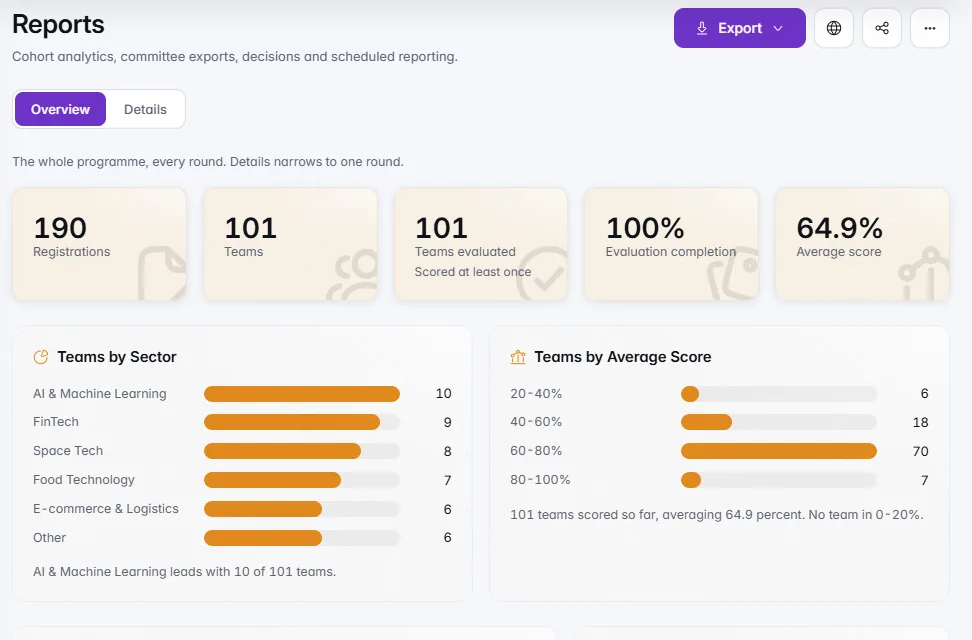
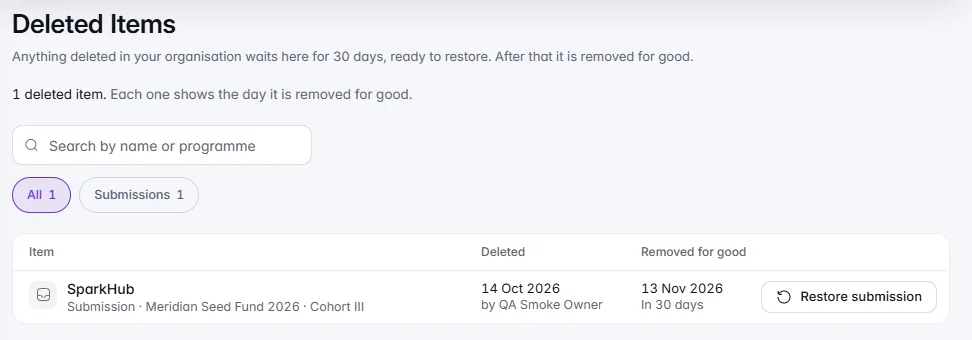
The last round ends in a meeting, a set of decisions and a letter to every applicant. This guide takes you from the committee session to the moment you know every letter arrived, in about twelve minutes of set-up.
Related: Decisions, Reports and decision letters applicants respect.
Before You Start
- Multi-round selection on your plan (Growth and up) for committee sessions.
- A closed round with its scores in and its shortlist agreed.
- The meeting date, the committee members, and a call link or room.
- Your letters: accept, waitlist and decline, agreed in substance.
Step 1: Run the Committee Session
- Open Committee under Reports, then the Sessions tab, and choose New committee session.
- Pick the teams, or take the Top N of the round.
- Use Add a time and call link. Members see the meeting in a Next meeting card, with buttons to add it to their calendar.
- On the day, choose Start session and take the teams one at a time. Members vote Accept, Waitlist or Decline; the chair confirms each outcome and moves on.
A member who declared a conflict with a team does not see its card or vote on it, and the tally lists them under Not voting.
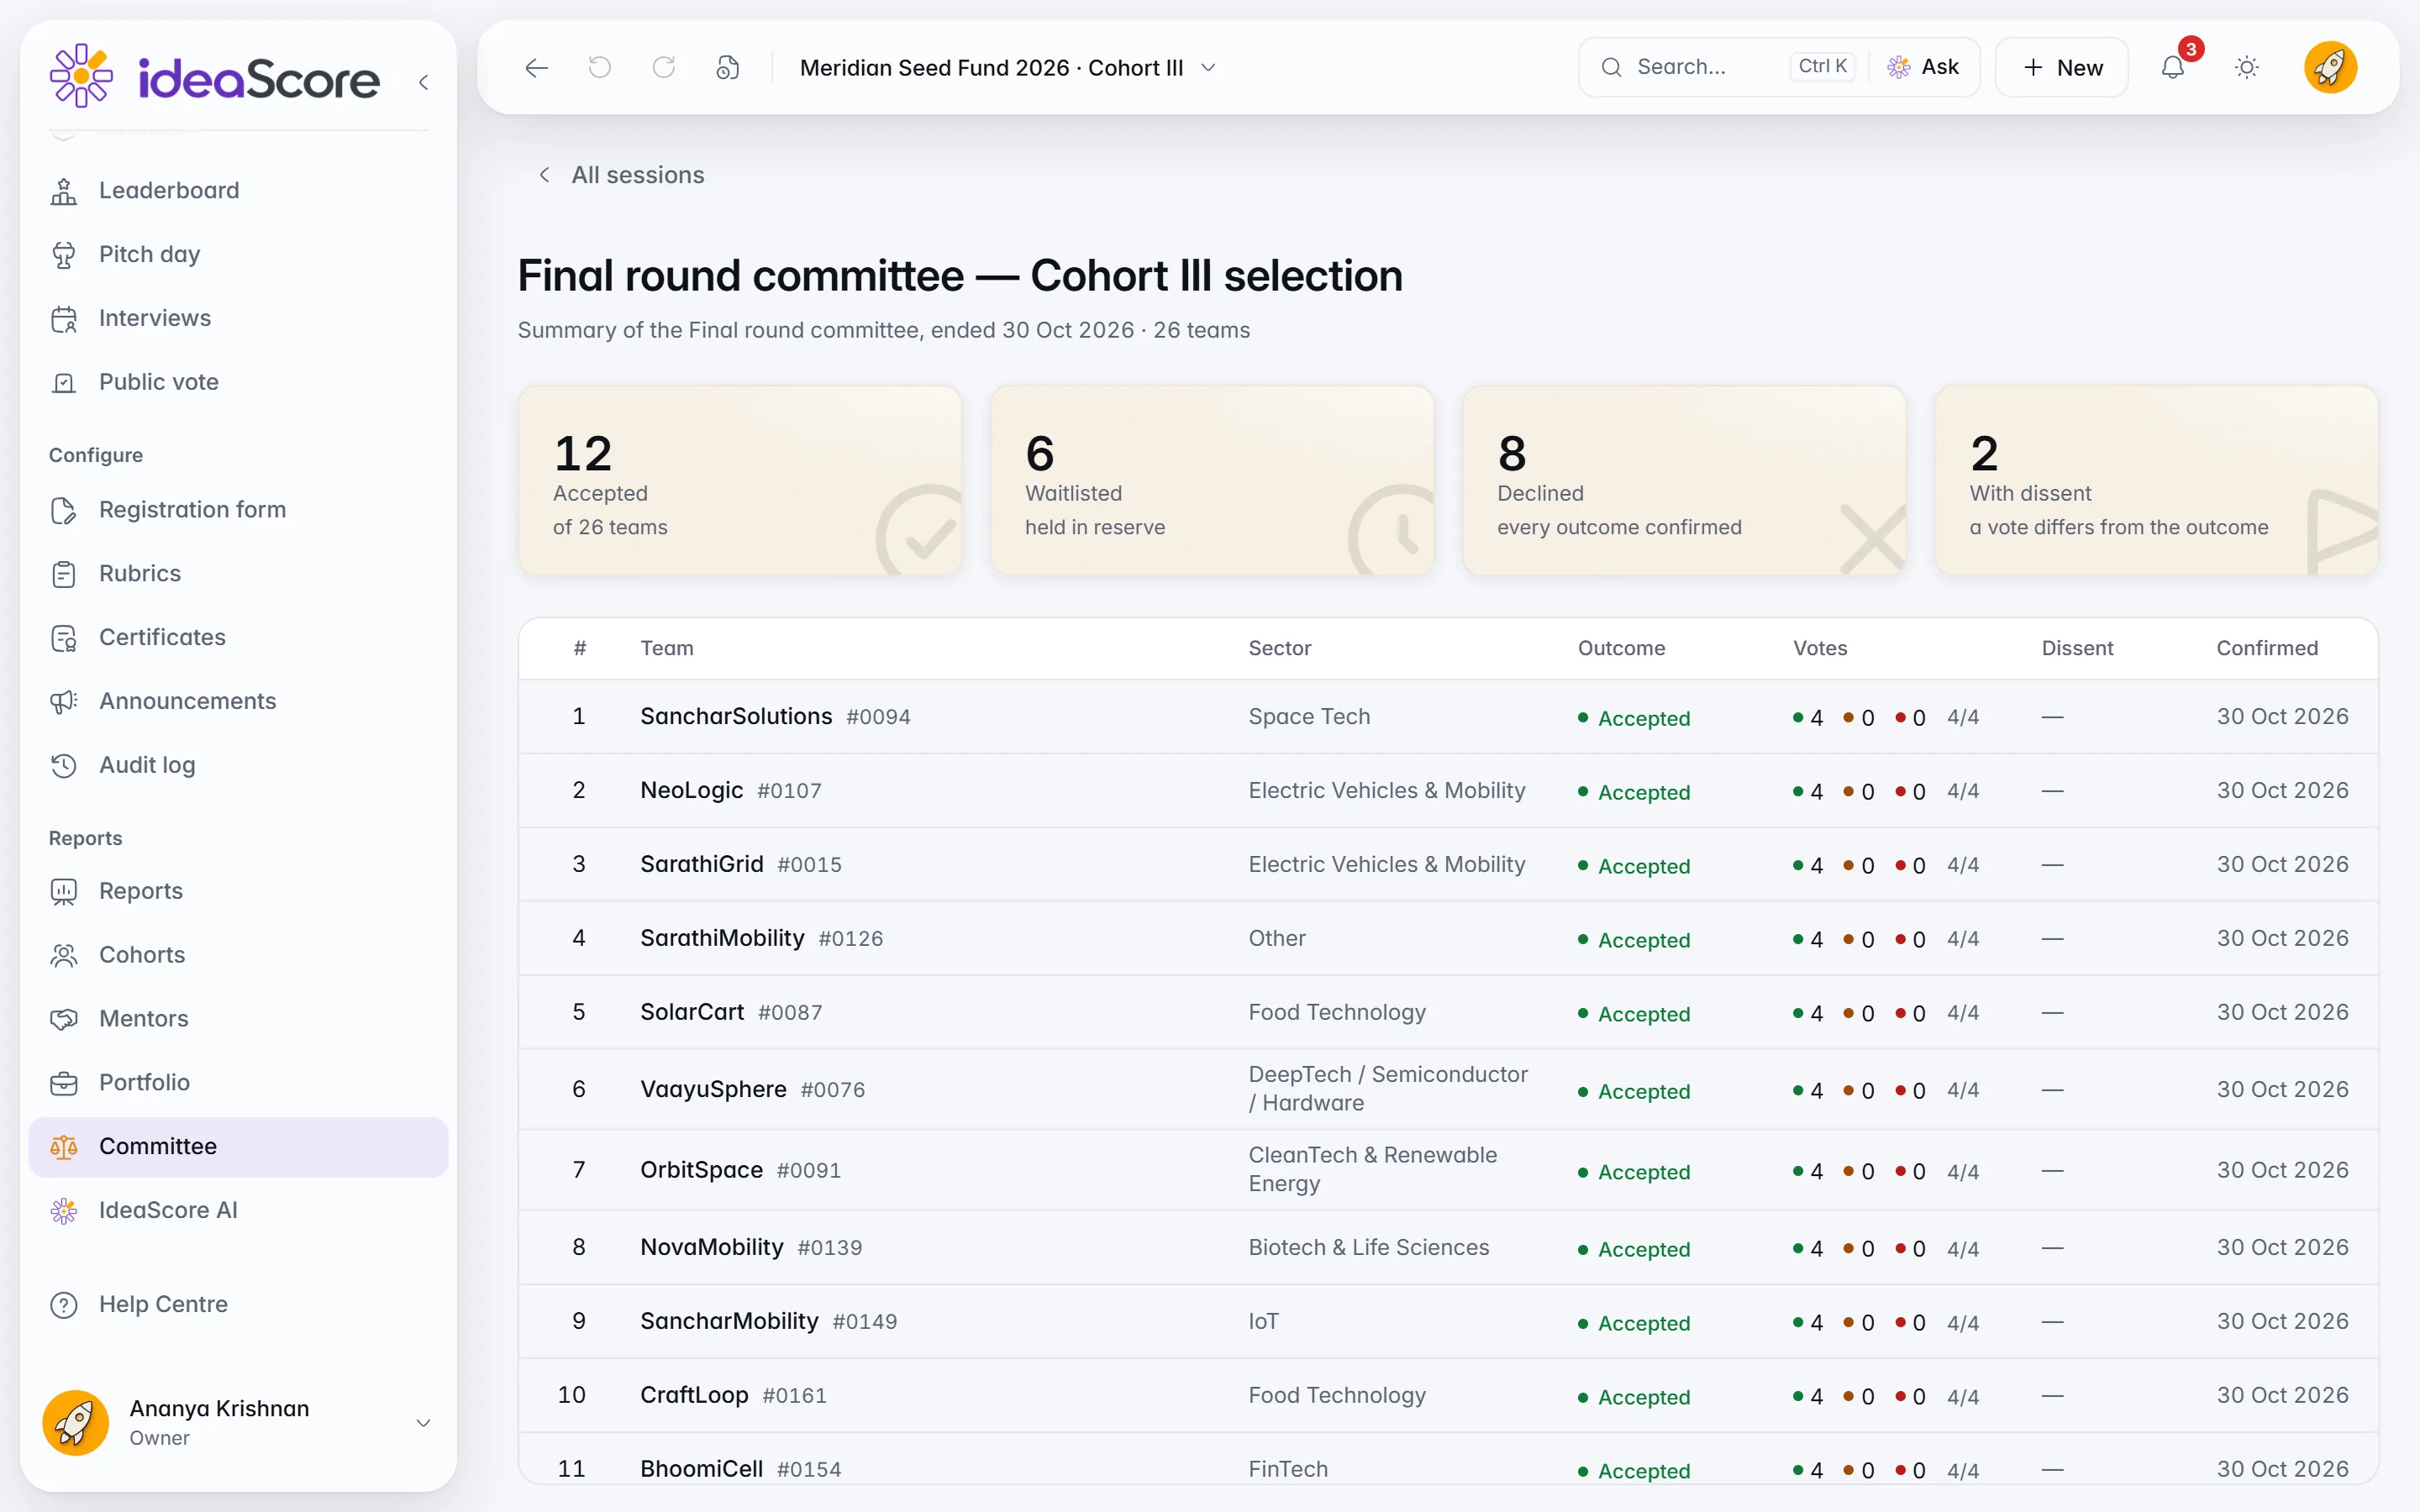
The Committee Report shows every outcome; Print report makes a paper copy for the file.
Step 2: Record Decisions
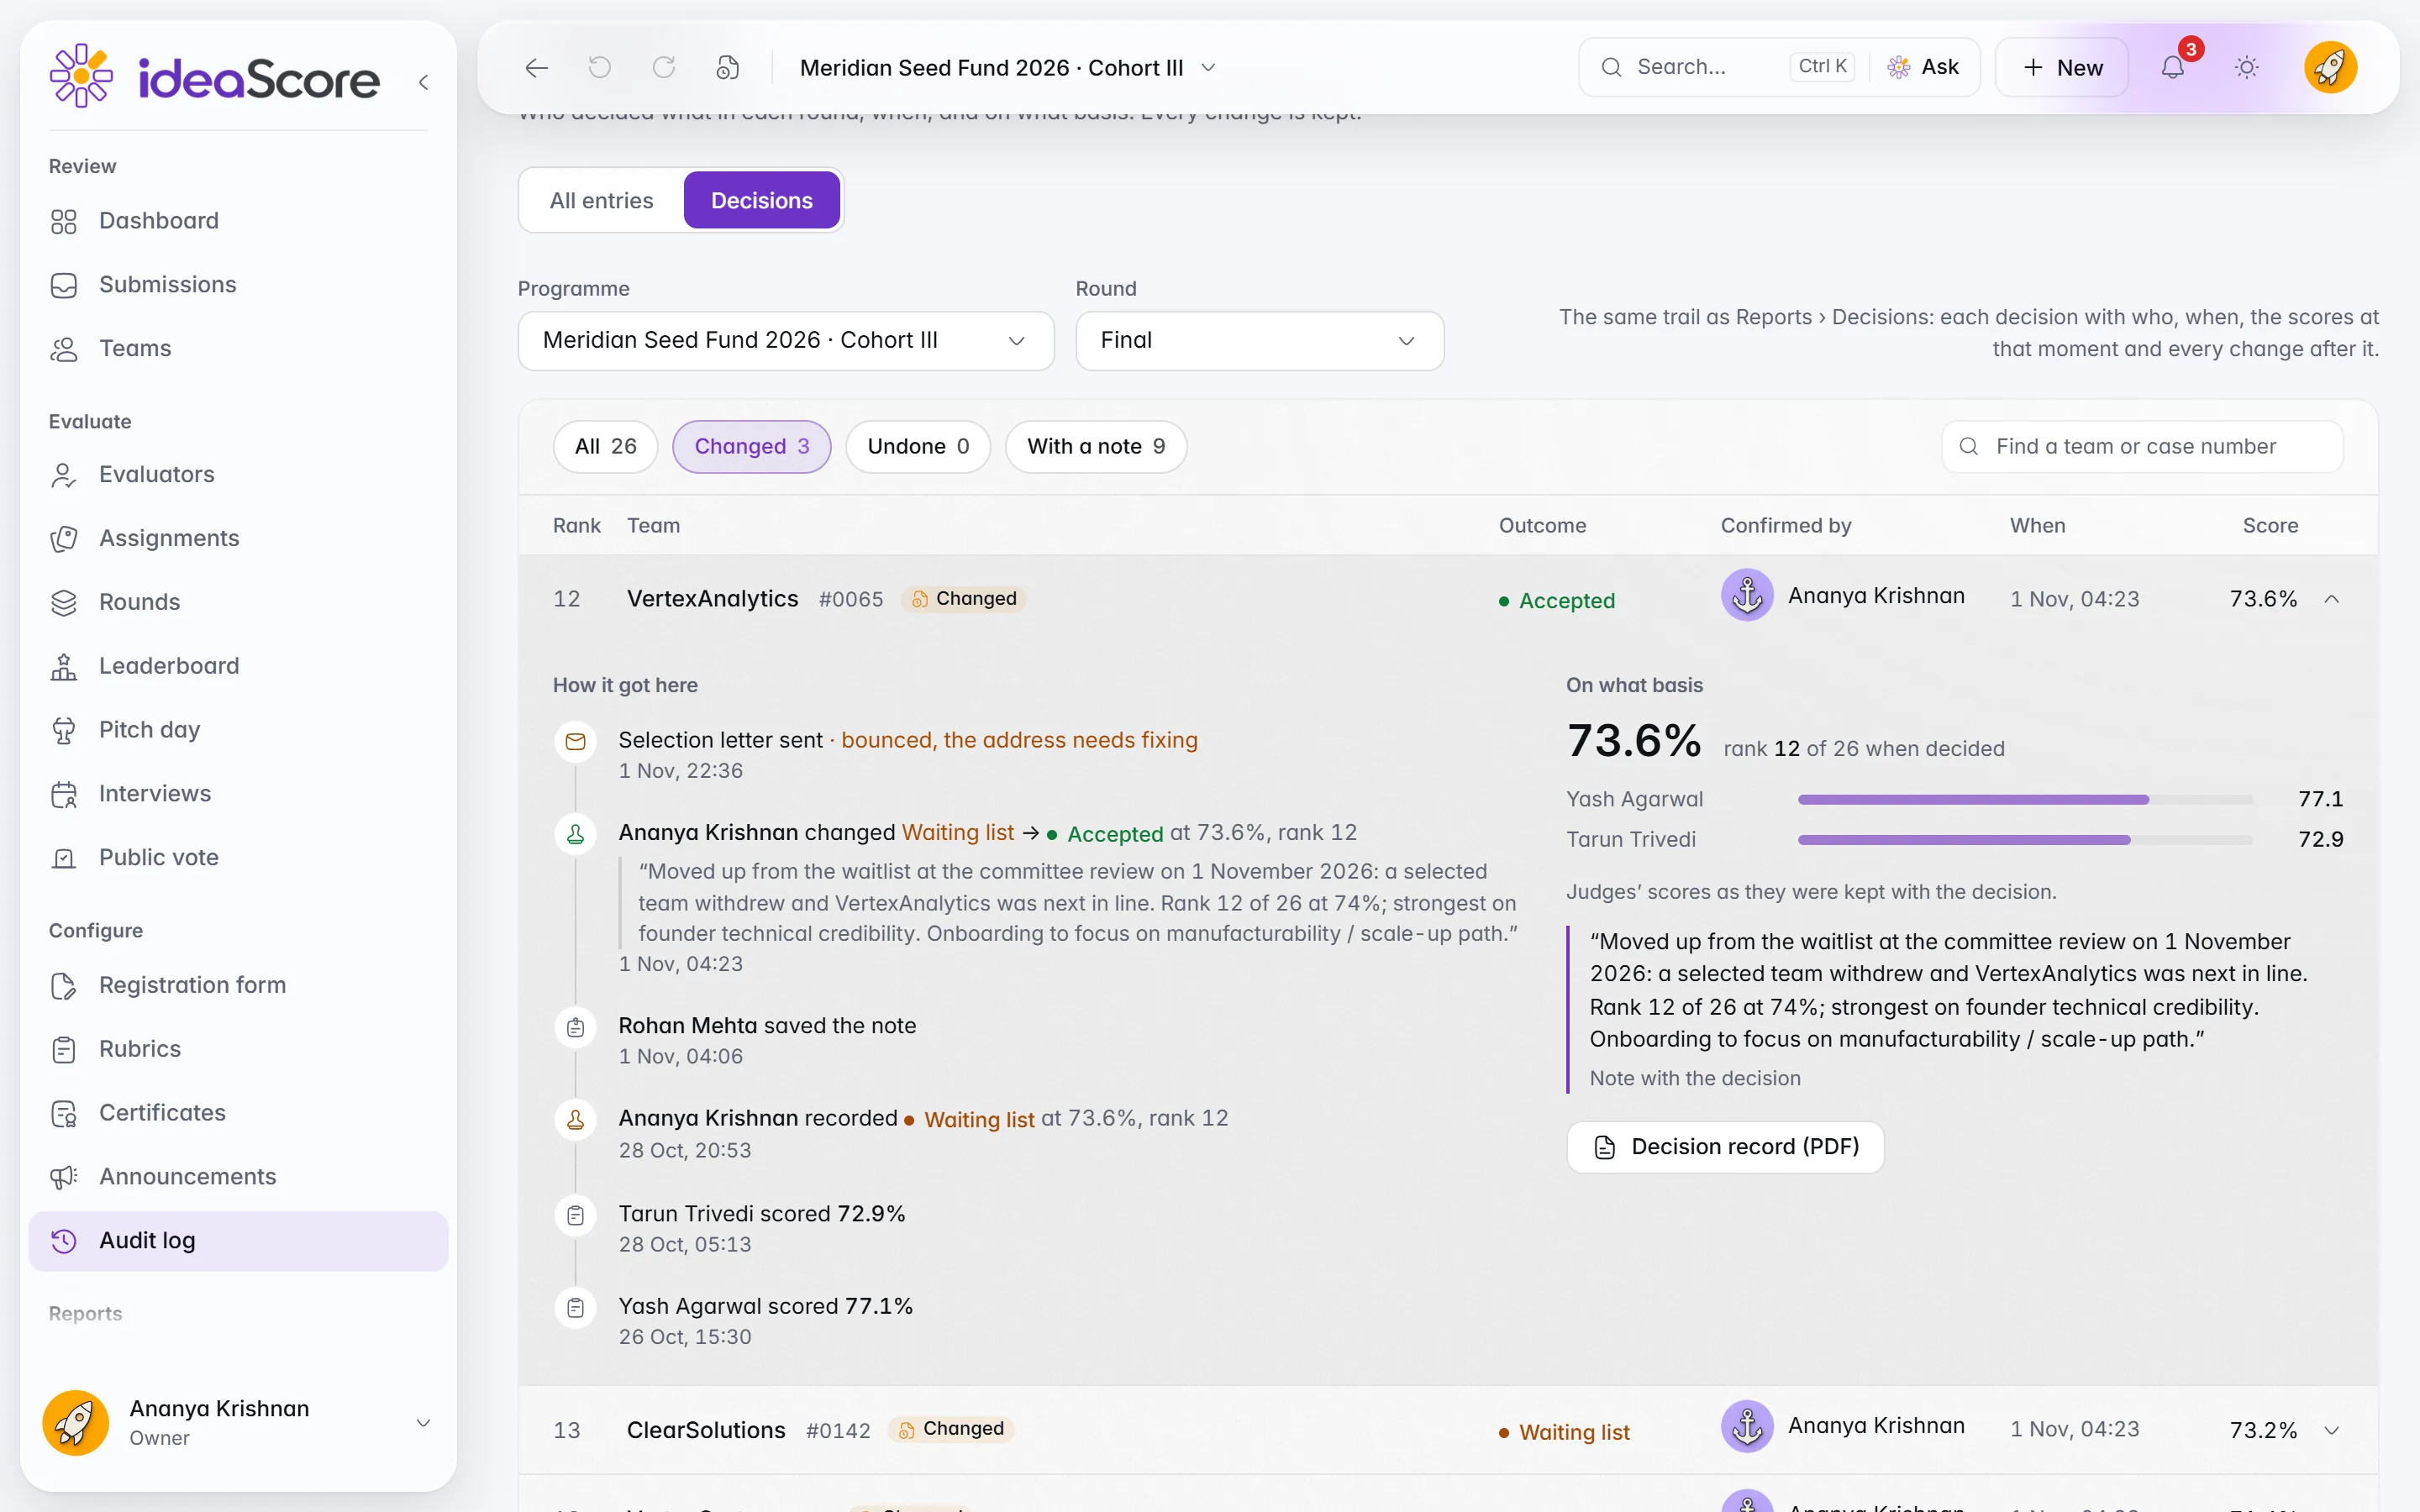
On Reports, open Decisions for the round and choose Record decisions. Each team is Selected, Waitlisted or Declined.
The Cut-Off Line shows who is just in and just out, and the score gap across the line. Drag it to accept one team more or fewer, set how many follow on the waiting list, and note if the line splits a tie. Nothing is saved until you choose Save decisions.
Step 3: Write and Test the Letters
Open Decision Letters. There is one letter per outcome; start from a tone (Formal, Warm or Plain) and edit it. Merge fields fill in each team's details.
- Preview each letter on Desktop and Phone.
- Save, then send a test to yourself.
- For the final round, you can switch on Teams must accept by a date, so each accept letter carries a reply date and a button to accept or decline the offer.
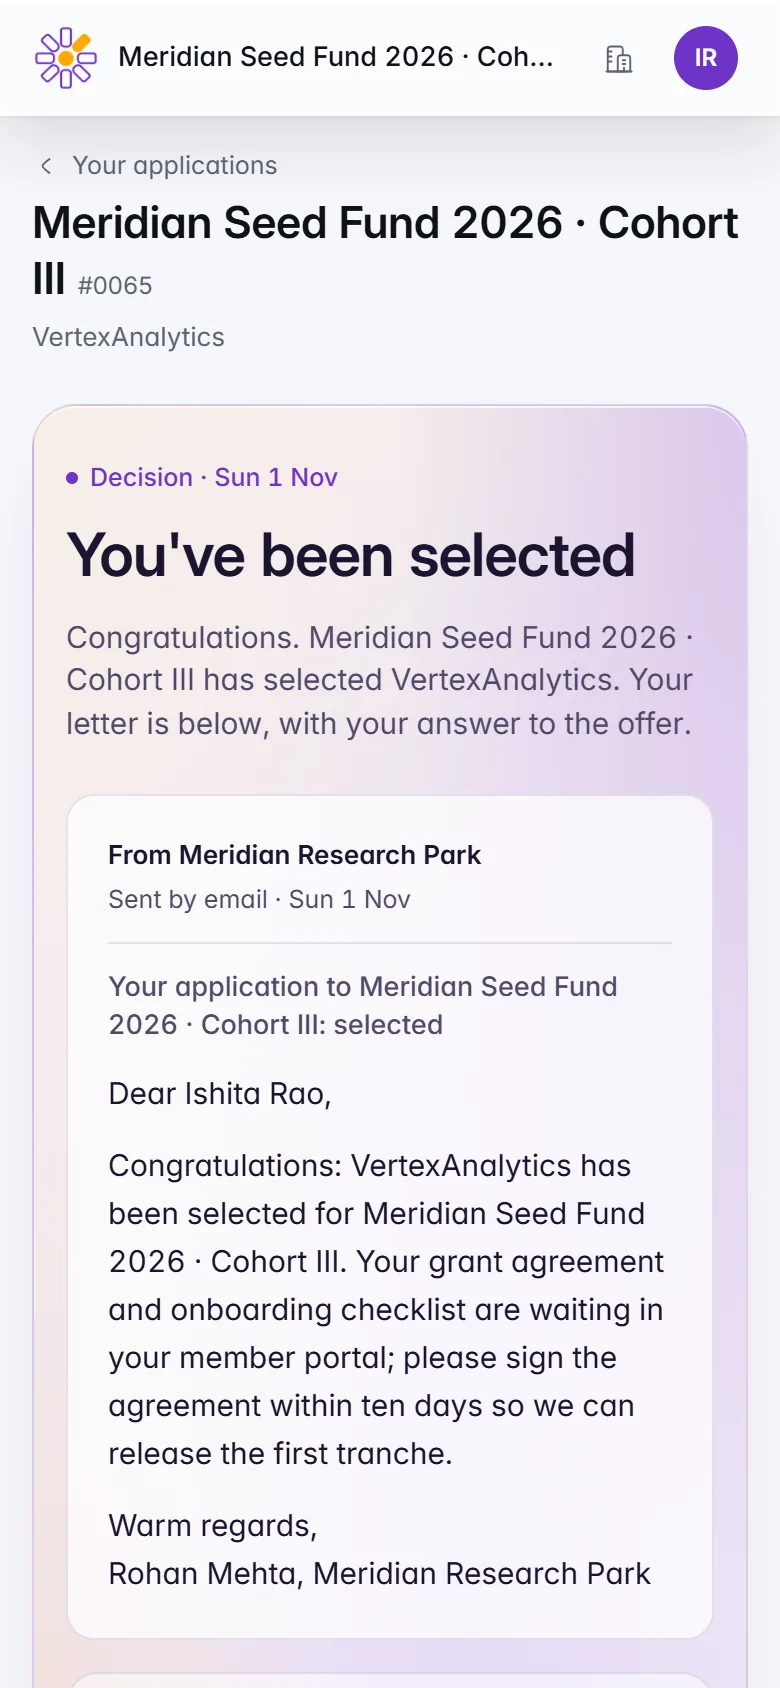
Step 4: Send the Letters
Choose Send letters. It takes two steps, and nothing goes until the end.
- Who and when: everyone decided, selected rows, or teams by outcome; now, or a date and time.
- Check and send: see who will receive each letter, grouped by outcome. The Skipped tab says who will not get one and why: already sent, no email, or not decided.
The last button says exactly what will happen, such as Send 41 letters now. Letters cannot be recalled once sent, and no team is ever emailed the same letter twice.
Step 5: Publish Results
On Reports, the Publish Results card opens Check and publish: a public page with rank, team, score, sector and a decision badge. Choose whether to show every team or only those selected and waitlisted; declined teams never show a badge.
- Publish now or Publish at… a date and time in the programme's time zone.
- Email every applicant the link sends one email to each applicant when results go live.
- Tell each team its rank band shows a selected team a line such as "Selected: 40 of 312", never a position.
For receipts, deadline reminders and round updates as well, switch on Programme emails in Decision Letters.
Step 6: Confirm Every Applicant Heard Back
Open Reports › Details › Decisions. Every Applicant Heard Back shows each applicant as a square: green delivered, red bounced, grey waiting. A bounce says why in plain words; choose Fix address and IdeaScore sends the same letter again.
Checklist Before You Send
- Committee outcomes confirmed by the chair, report printed
- Decisions saved, cut-off line and ties recorded
- Each letter previewed on a phone and tested to yourself
- Reply-by date set for the final round, if you need one
- Skipped tab read: no one left out by mistake
- Results page checked before publishing, rank bands decided
- Every Applicant Heard Back checked the next morning